How to build a hoop house
The GRIT Garden donated 295 pounds of produce to the CARE hub this week. Our total is now over 1600 pounds of produce donated. Our amazing volunteers have been helping us prepare for the hoop house hoedown this week.
About our hoop house
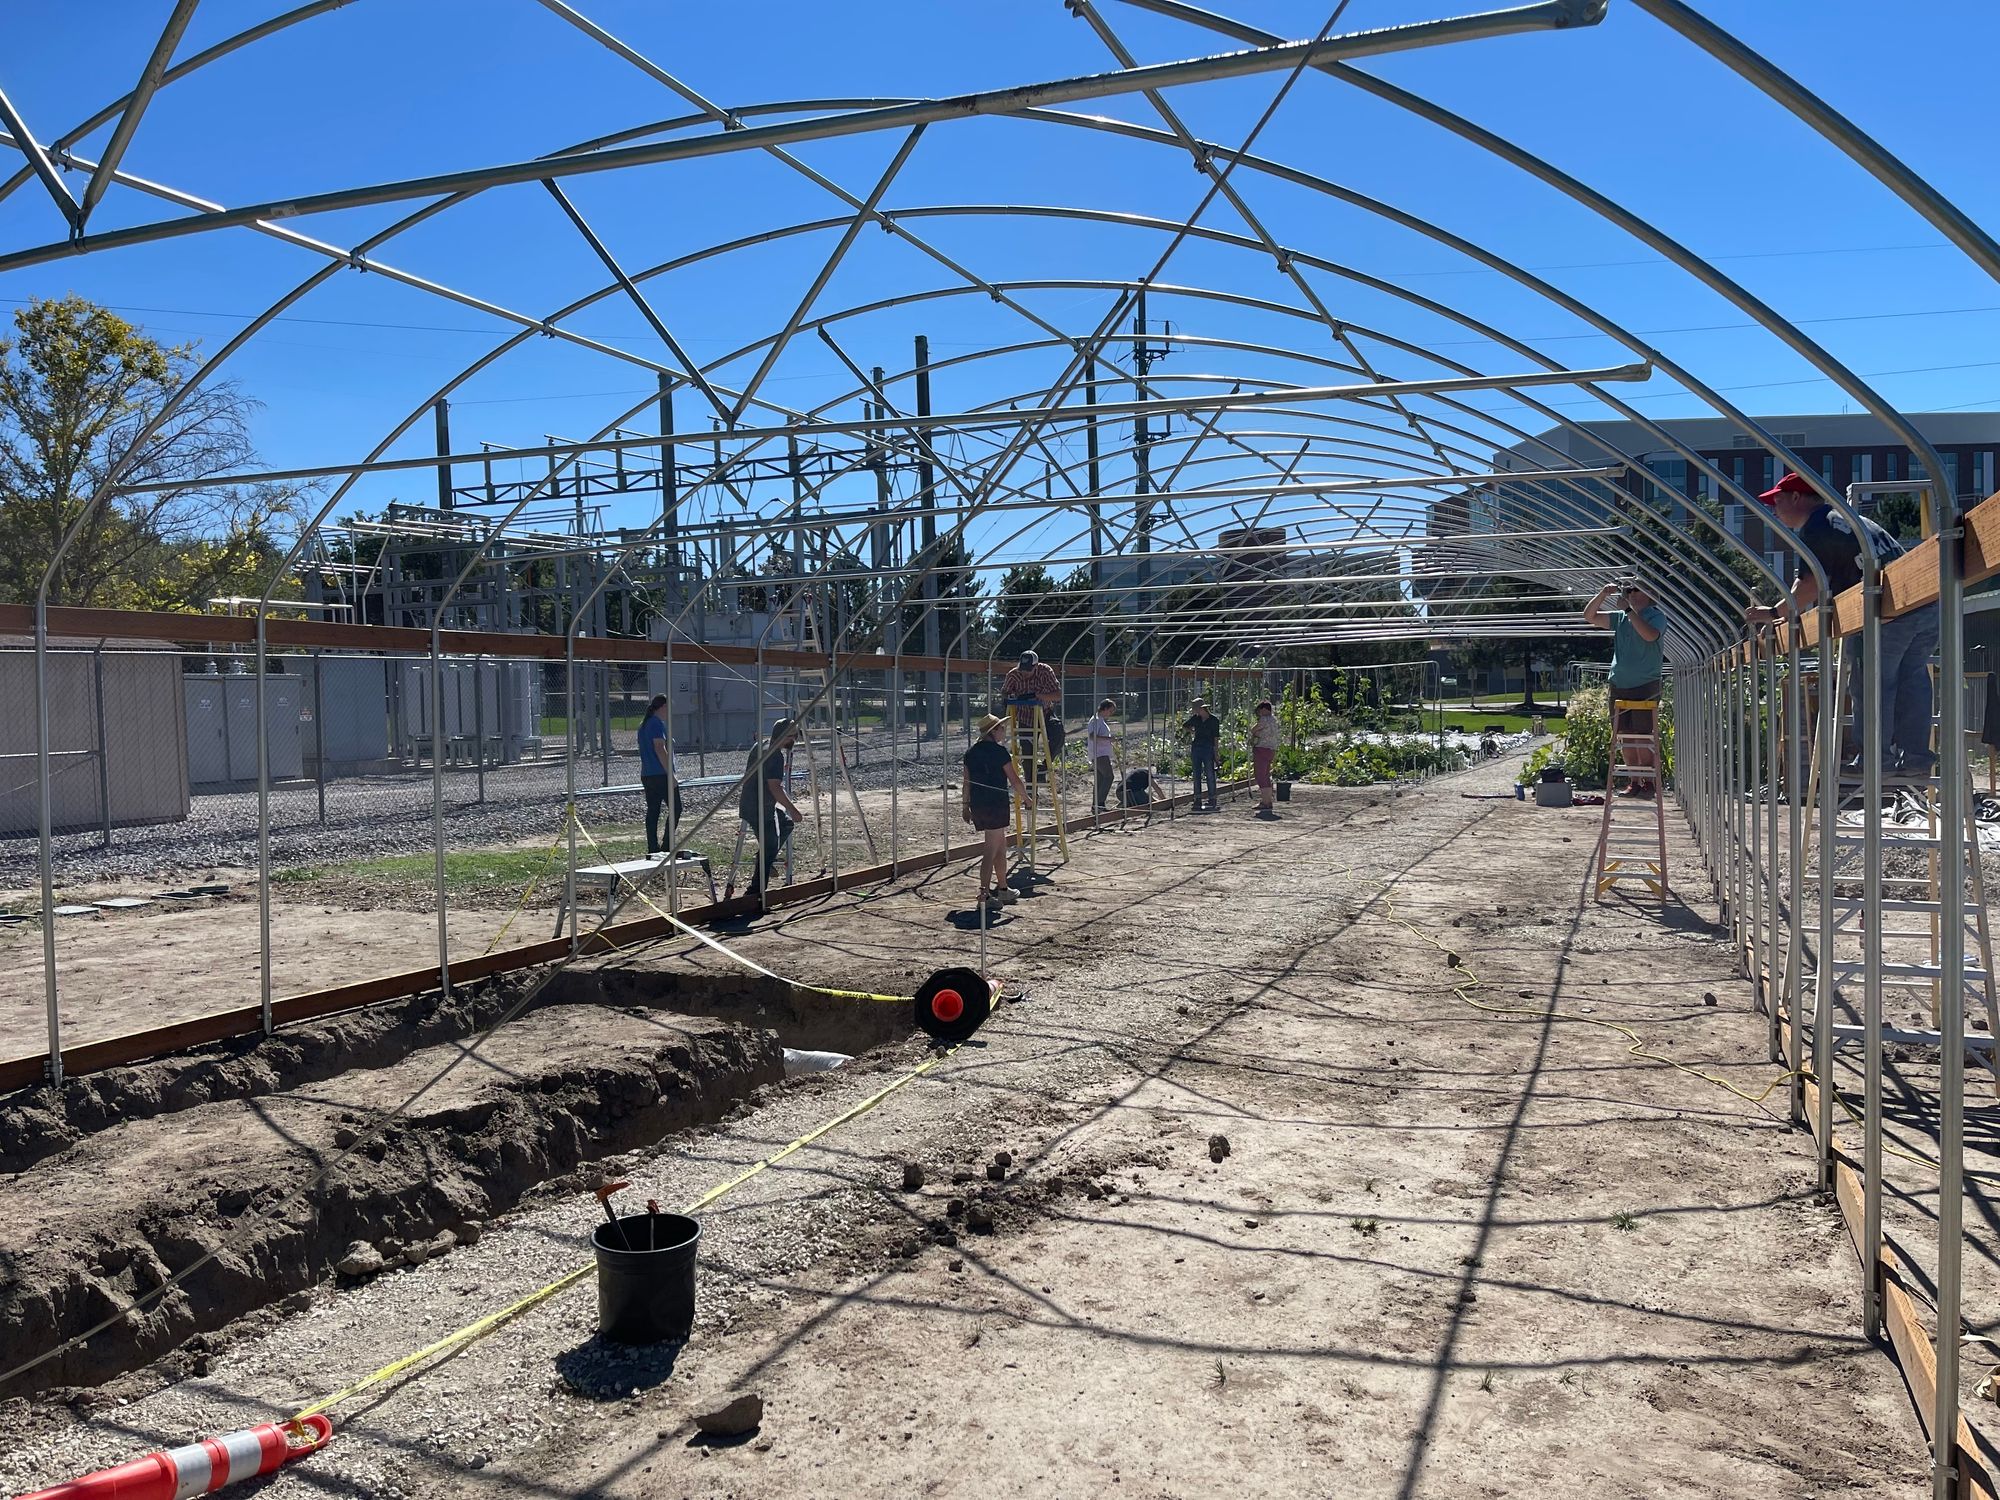
The hoop house at the GRIT garden is 100 feet long by 25 feet wide. The side wall is ten feet high, and the peak of the hoop house is 13 feet high. Once finished, There will be two storm doors to enter the hoop house one at the north end and the other at the south, and the sides will roll up to allow for airflow. The far north section of the hoop house will be used as a head house. The head house is where seedlings will be started, produce will be washed, and most of the inside work will take place. Any excess water will flow out of the head house through the french drain. The remainder of the hoop house will be filled with a majority of in-ground beds and possibly a few benches.
Hoop house construction
Our hoop house came as a kit with all the pieces included and cost roughly $11,000, including shipping. If DIY is more of your thing, there are supply lists for smaller greenhouses if available from the USU extension here, but because of the size of our project, we decided it would be easier and more cost-effective to purchase a kit.
The first step in constructing our hoop house was to pound 50 ground stakes two feet into the ground. This took about two days with the help of volunteers, which felt like a big accomplishment with how hard the soil in the garden is.
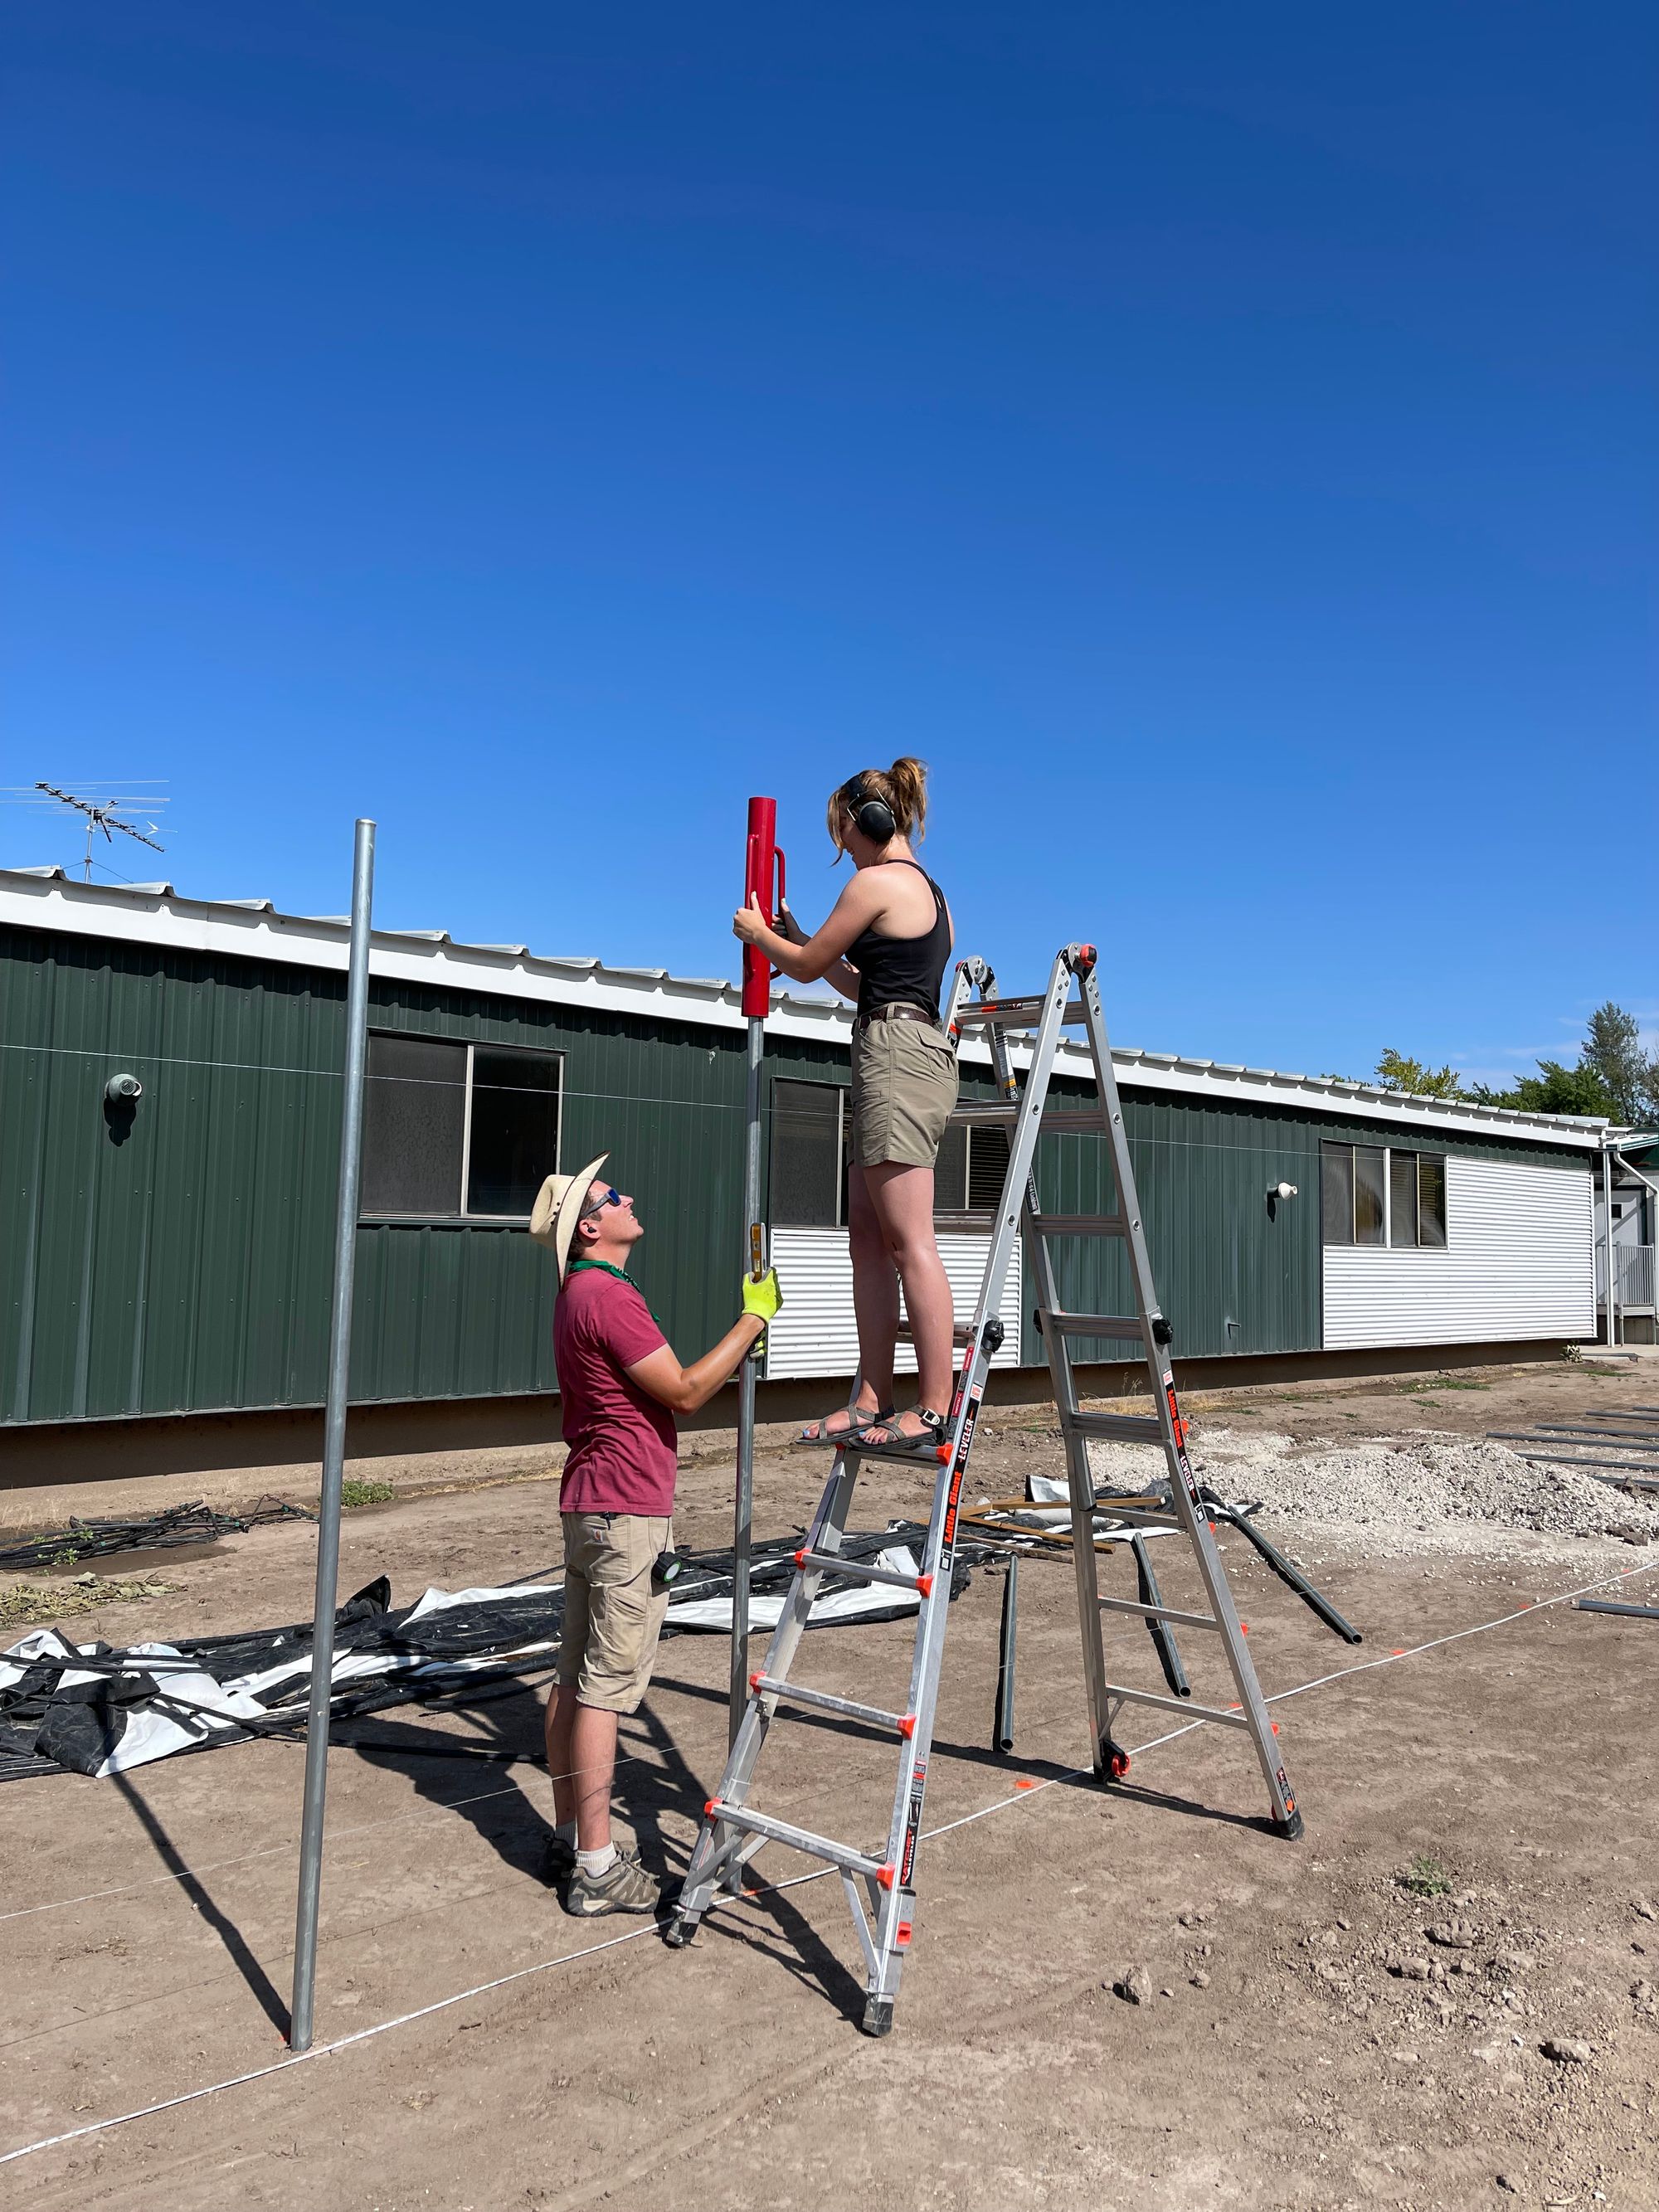
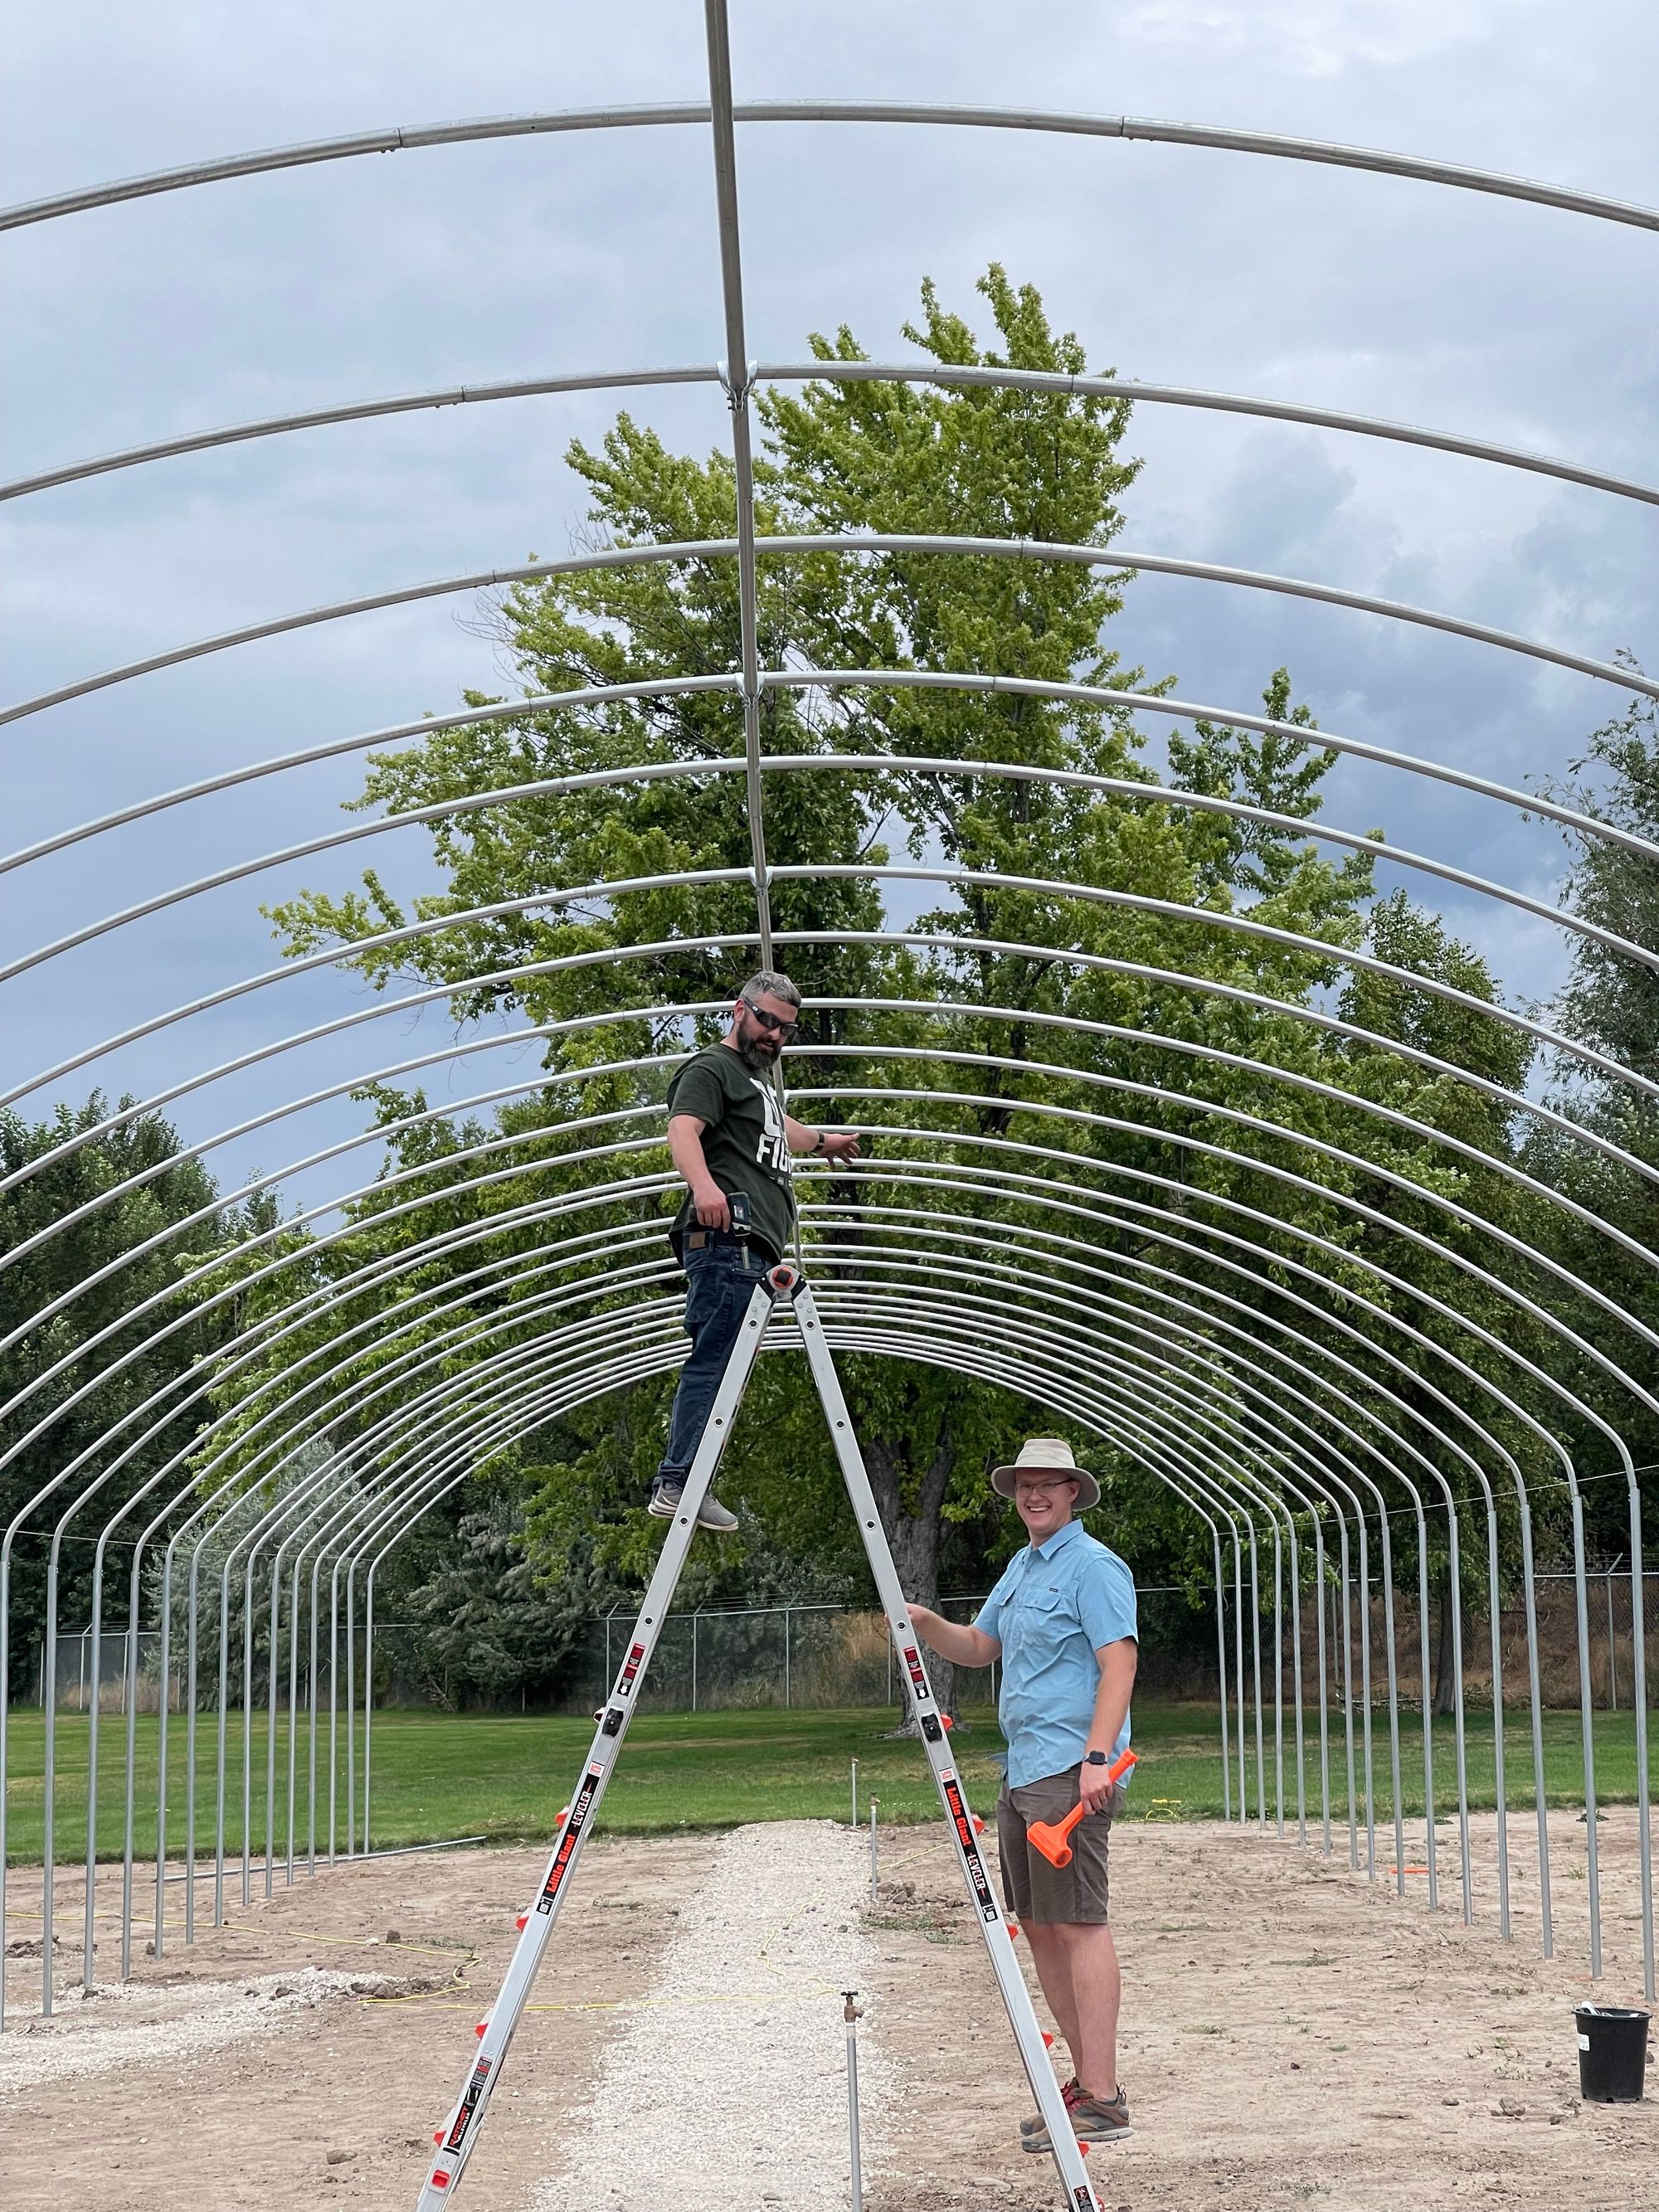
Next, the actual bows that constitute the roof of the hoop house were attached.
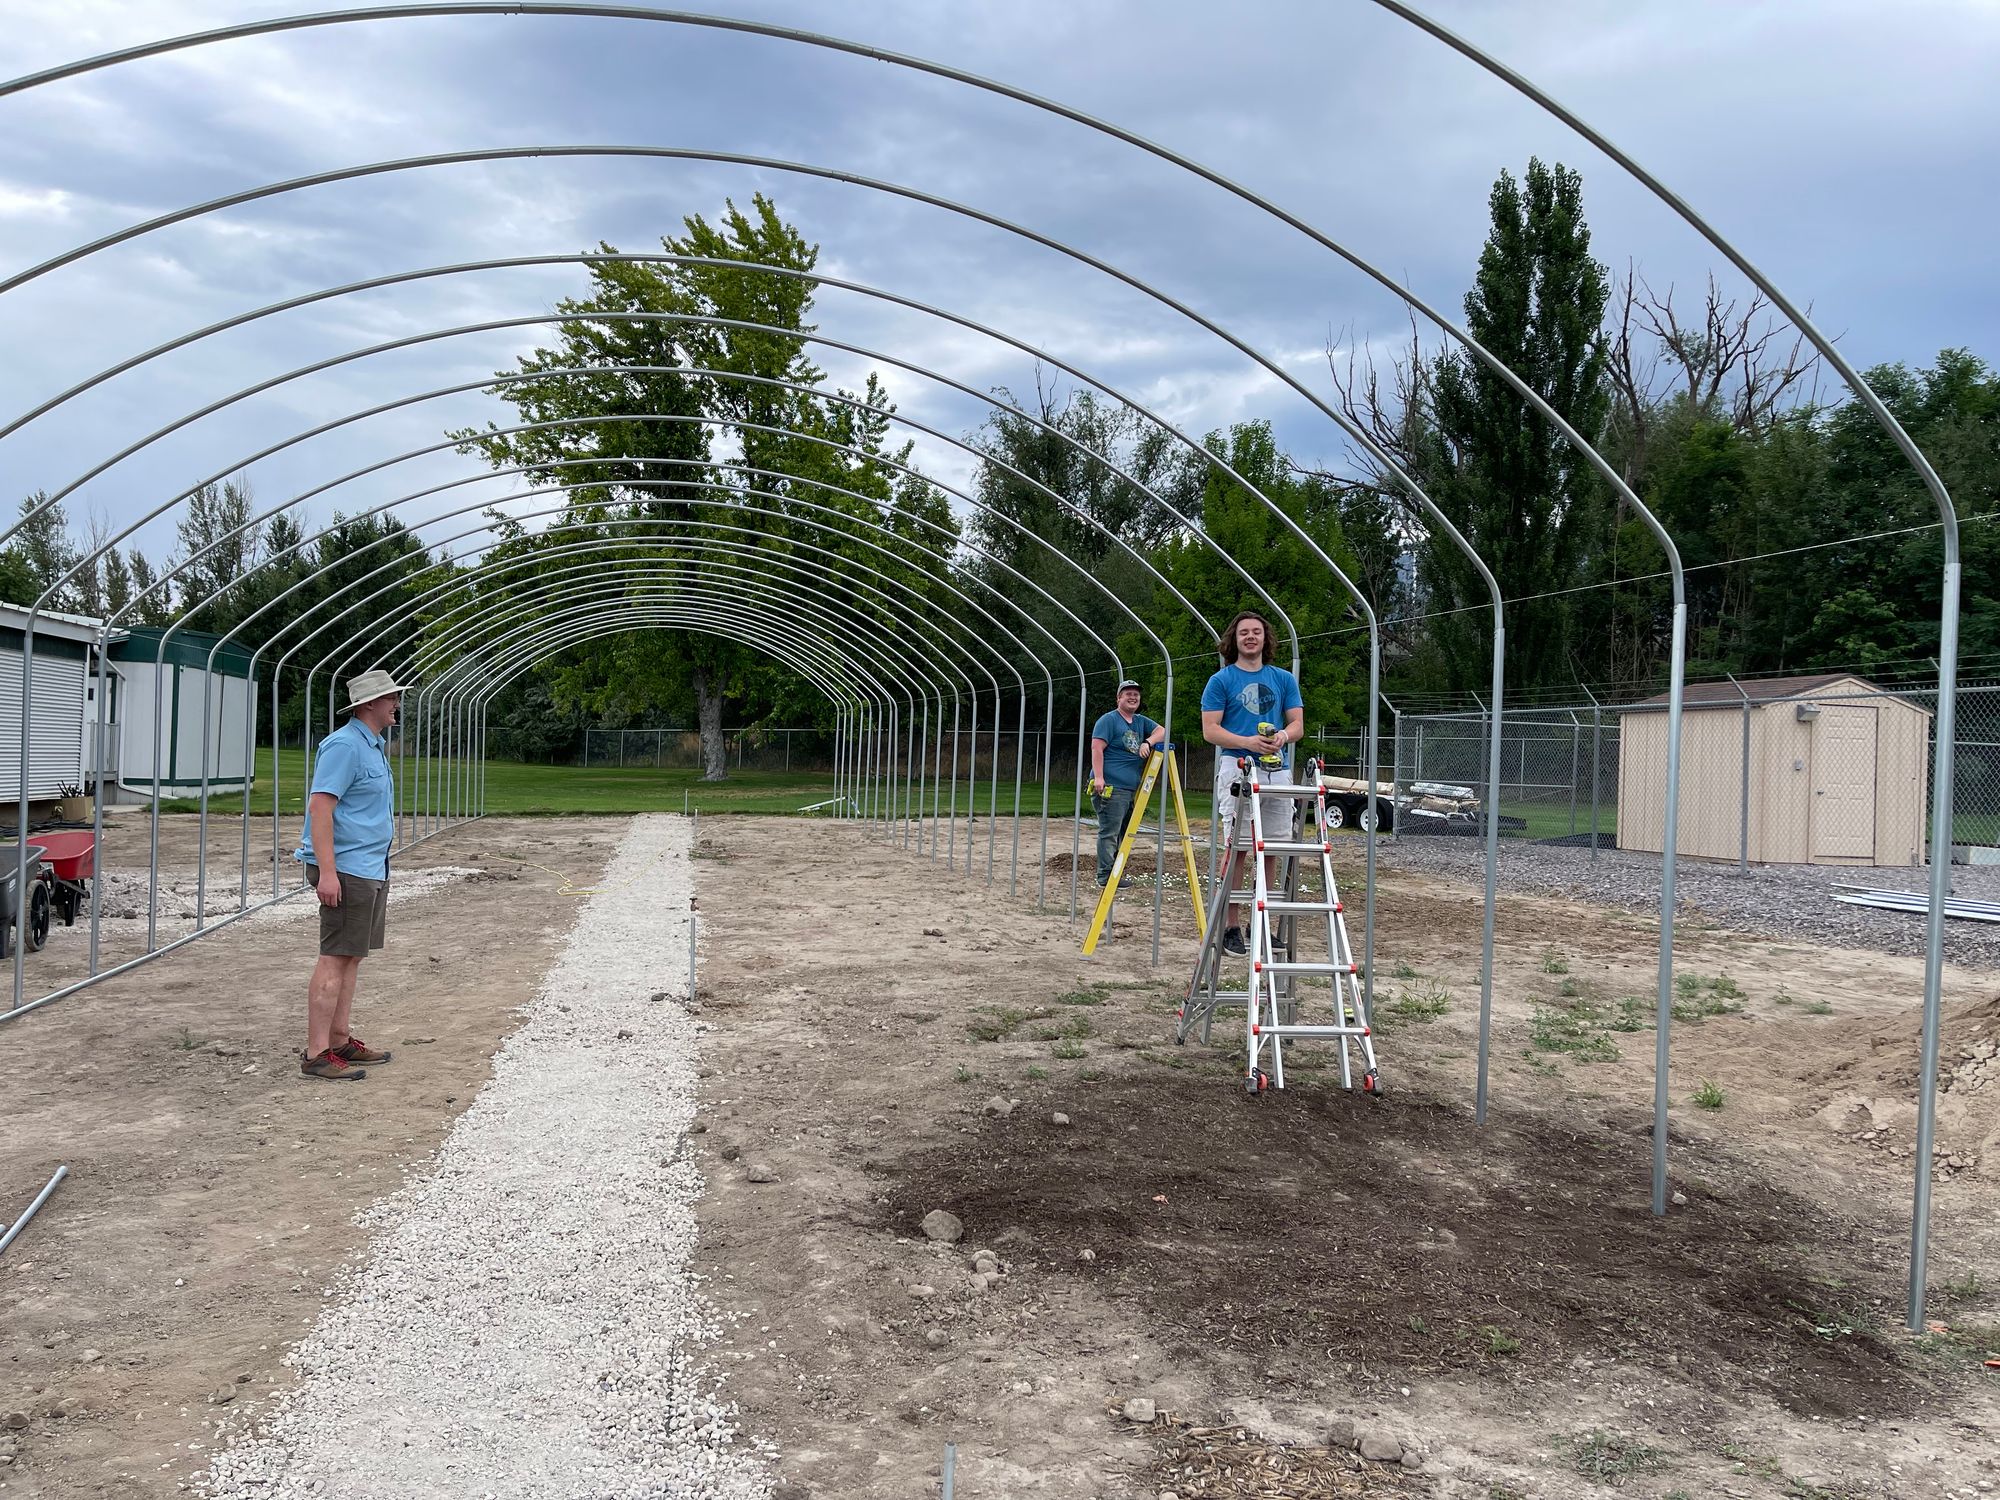
Purlins that run perpendicular to the hoops are attached to provide stability.
After that, the french drain was dug with the help of the amazing UVU grounds crew and the side wall header and baseboards could be attached. These boards are where the roll-up sides will attach.
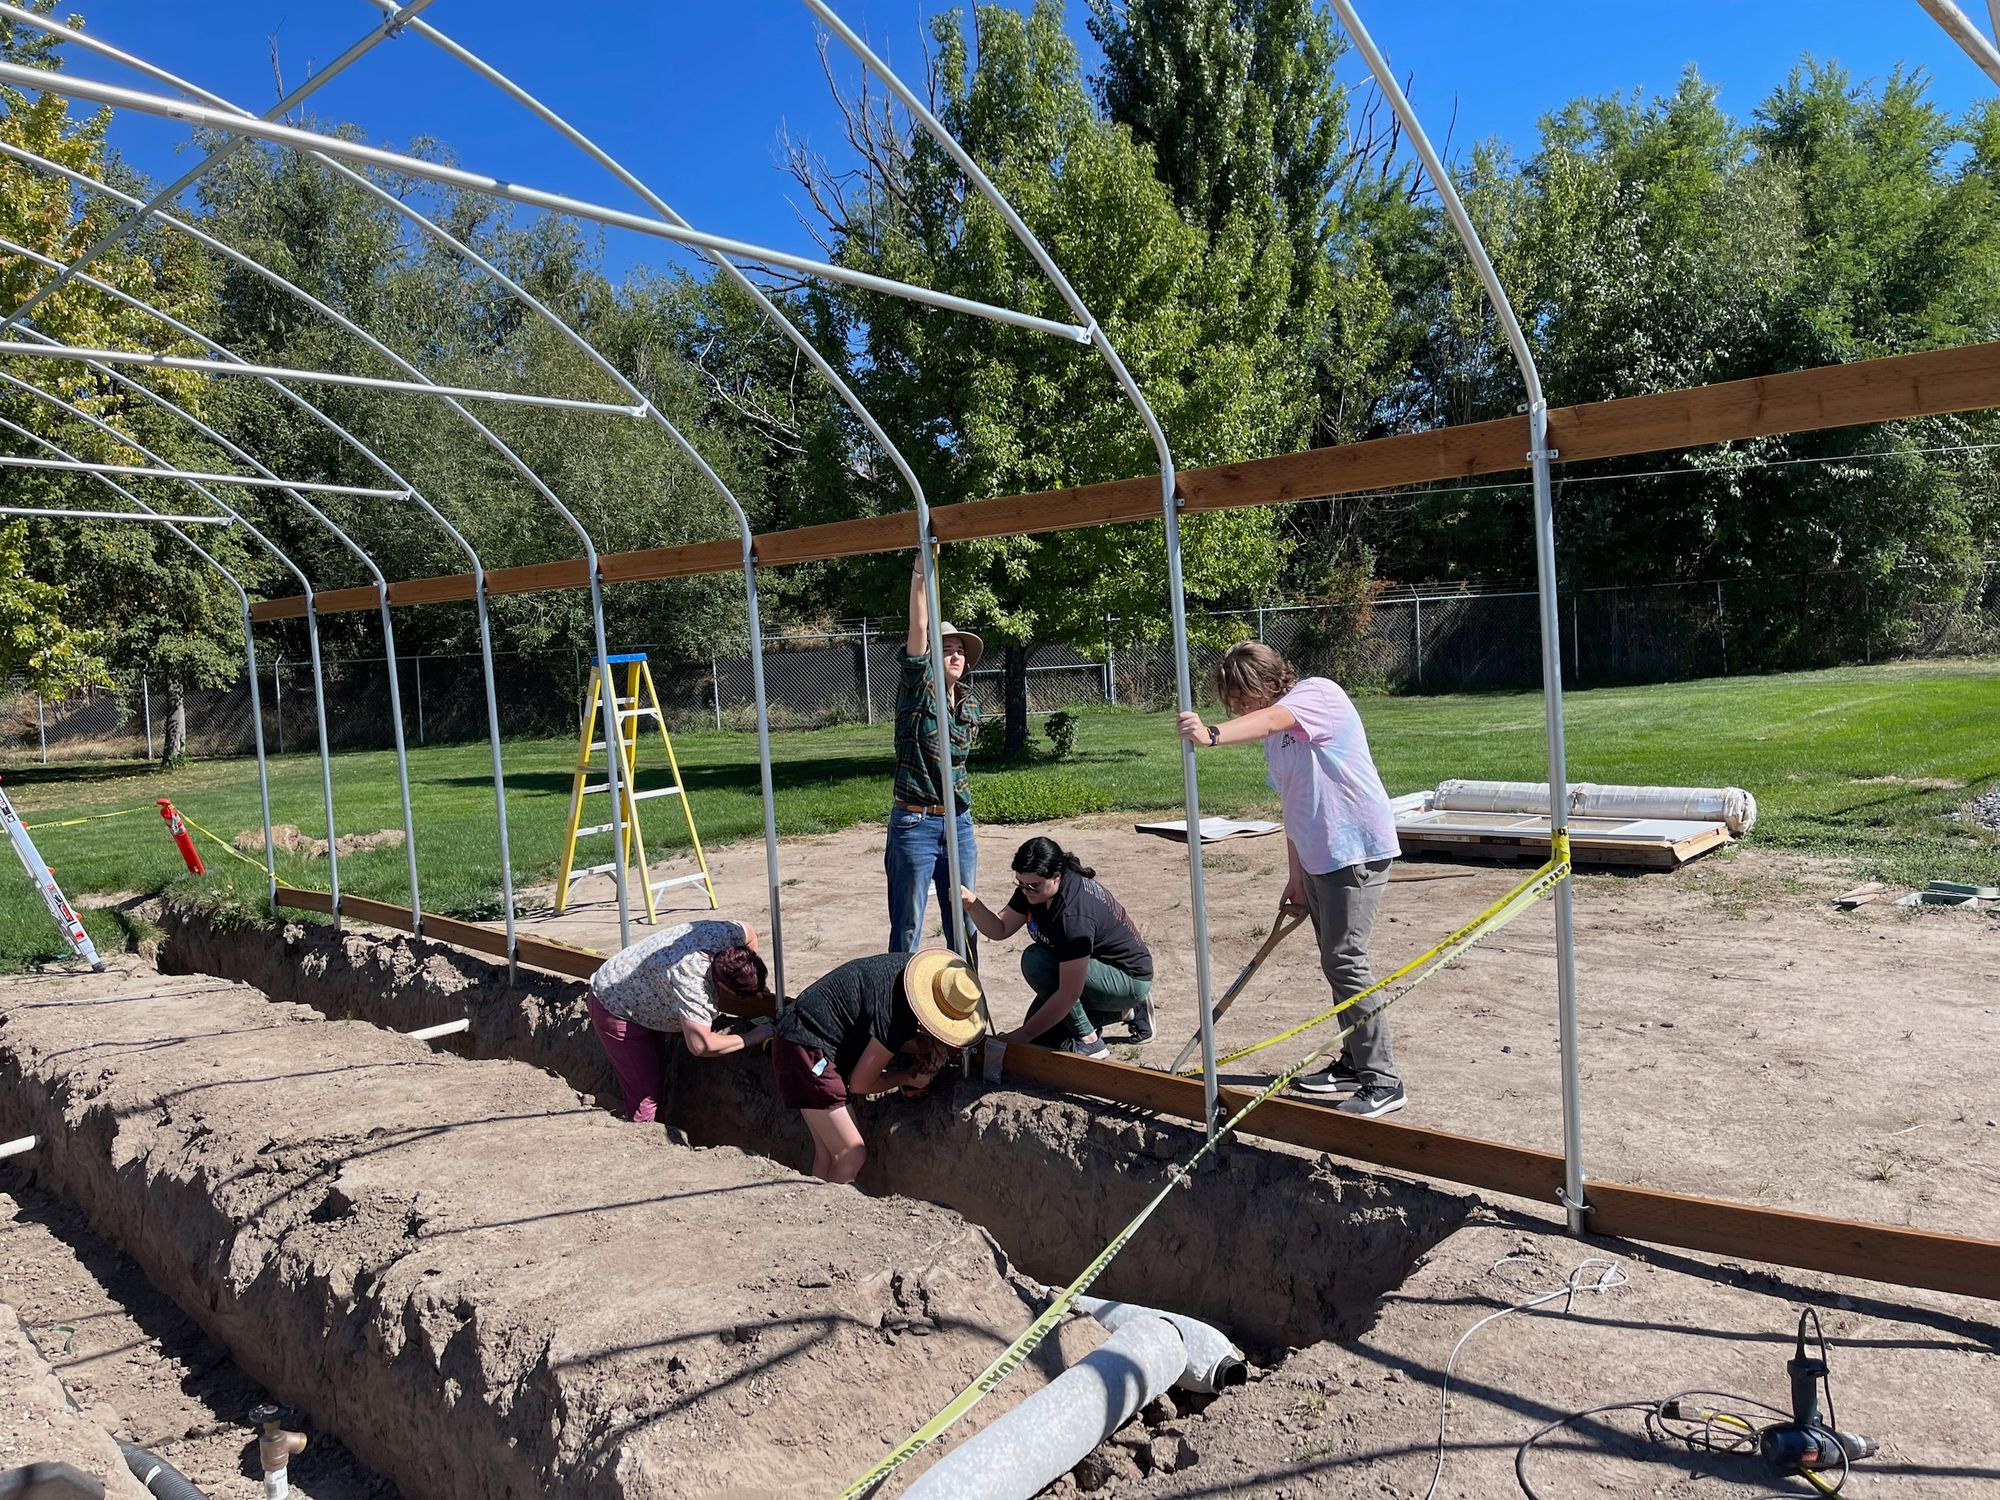
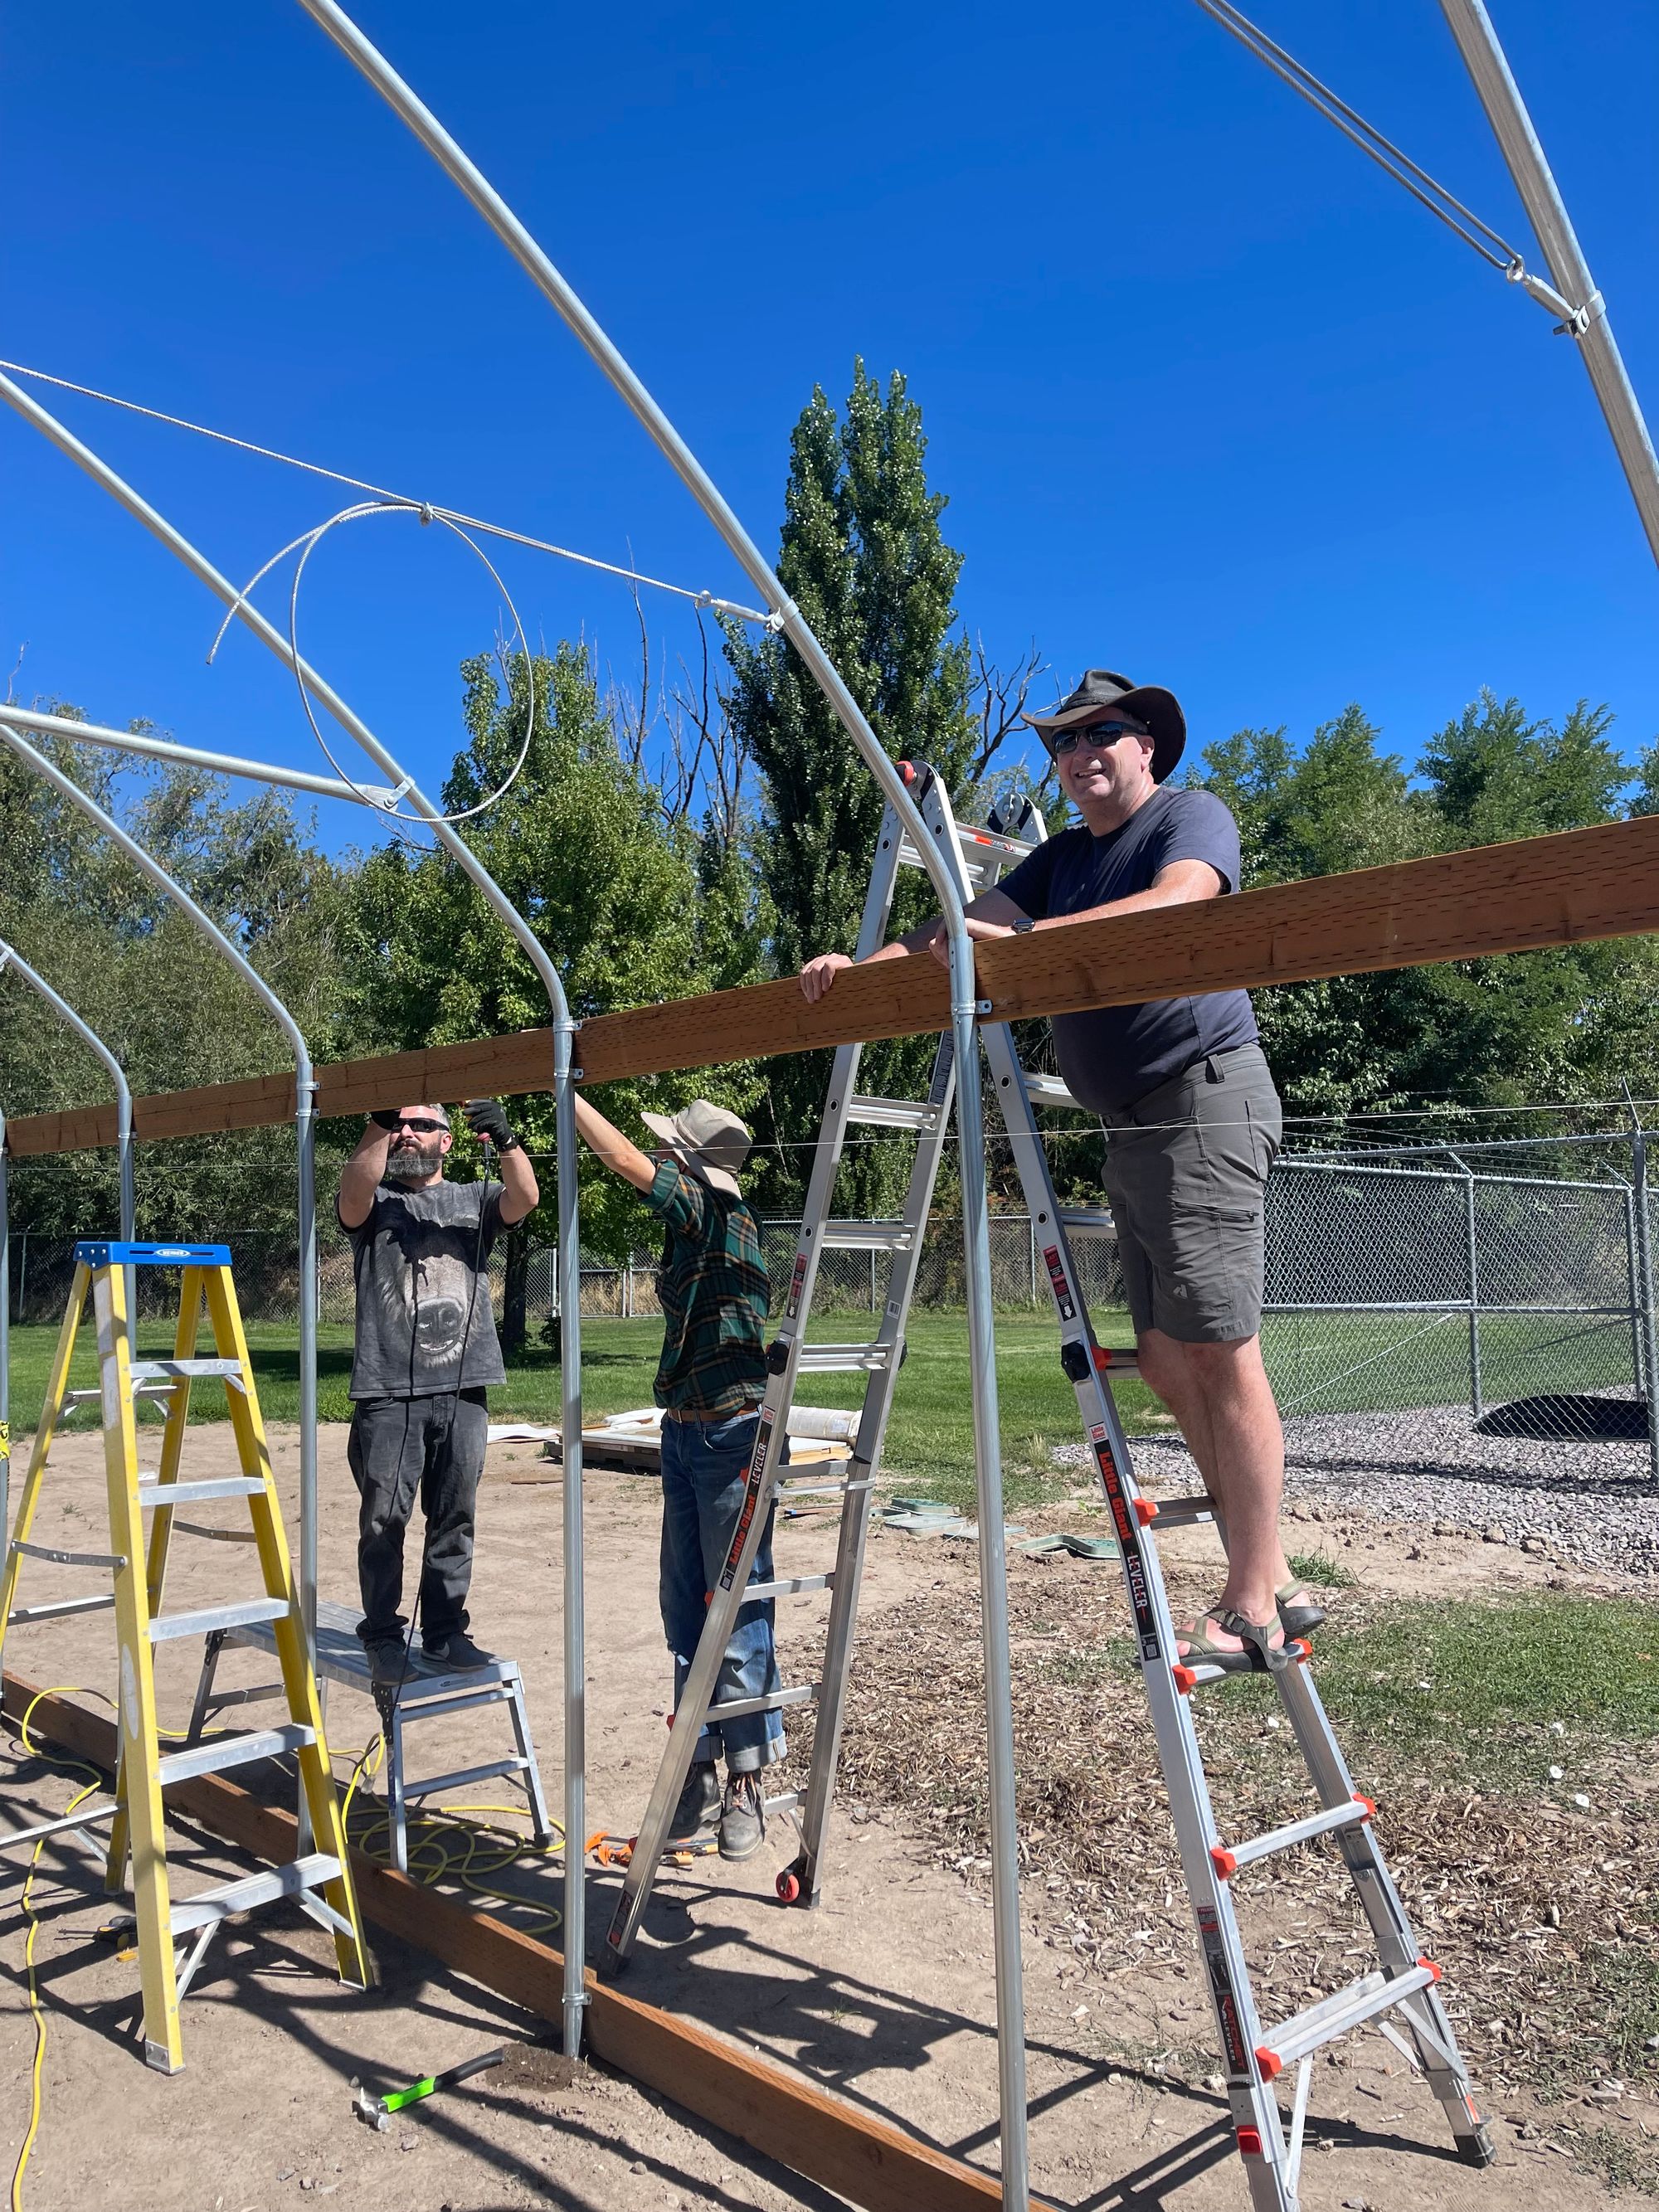
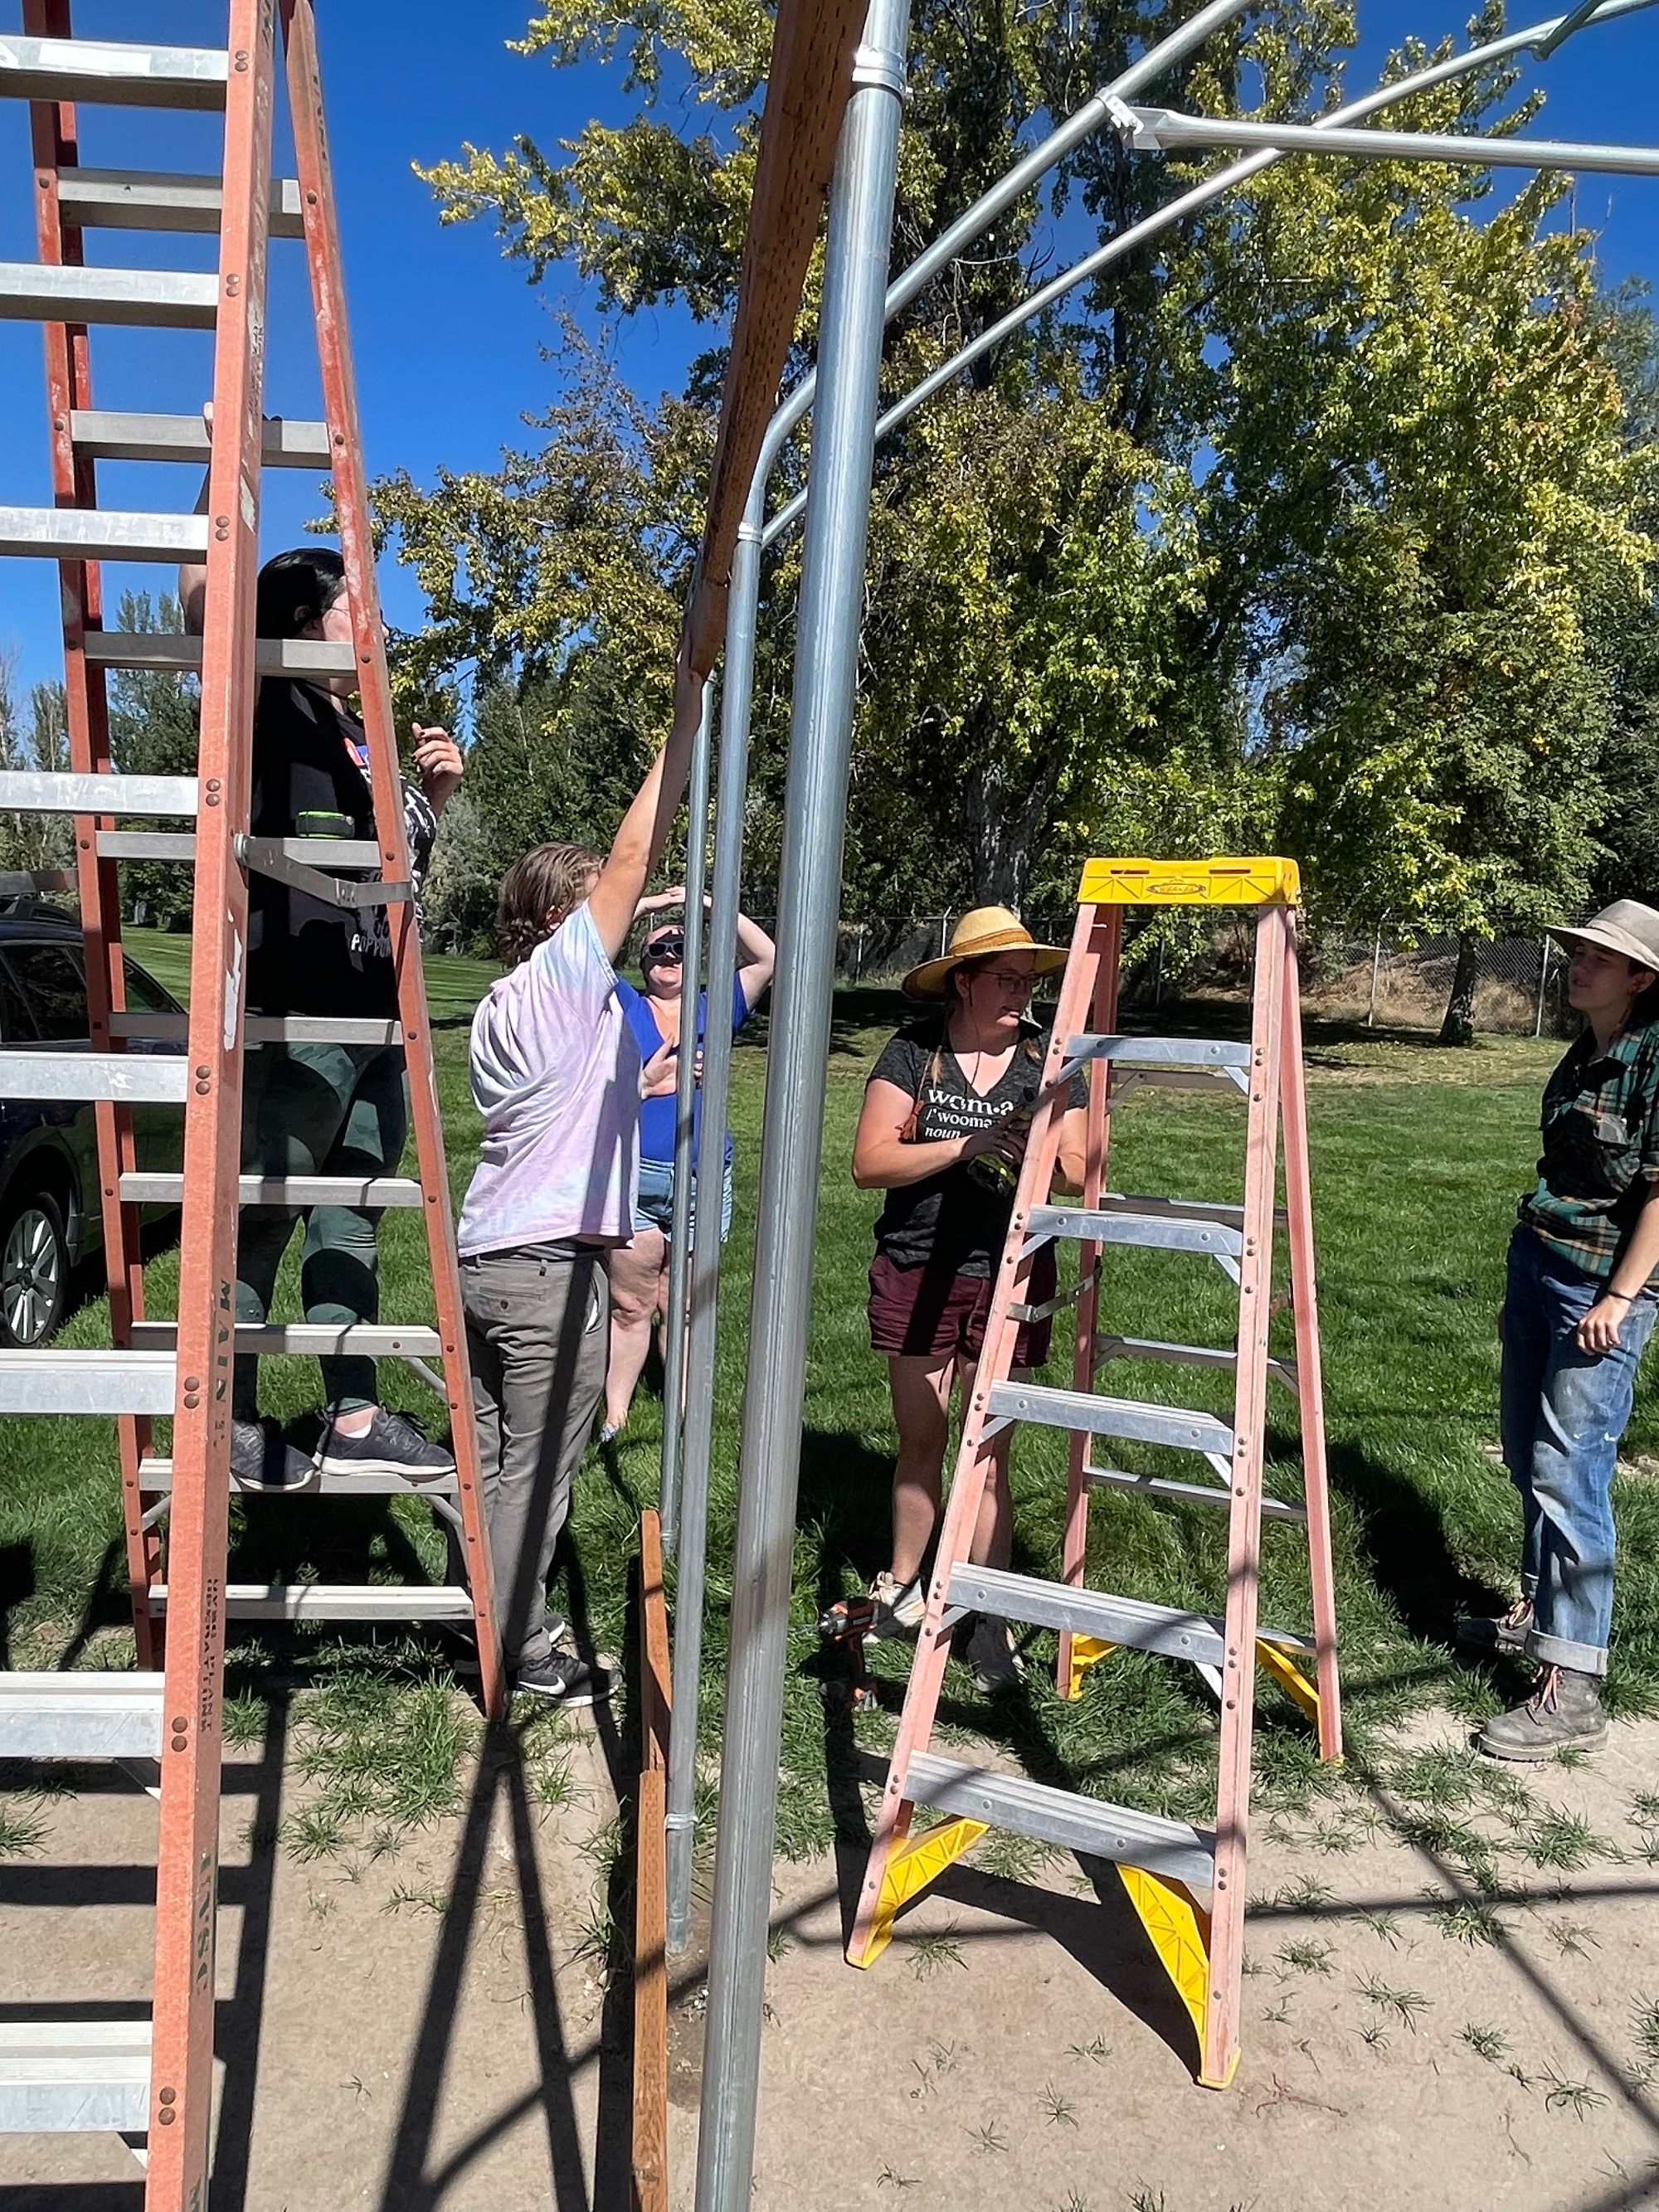
Trusses were attached to every other bow, with support cables alternating.
From there, conduit hangers were attached to the top board on the sidewall. These hangers will help to hold the plastic covering taught.
We are finally ready to pull the plastic over the hoop house. After the plastic has been pulled, we will install the end walls with the storm doors, then the hoop house will be ready for the winter!